Boot RZ/V2H Evaluation Board Kit
This page describes how to boot the RZV2H Evaluation Board Kit (RZV2H EVK).
-
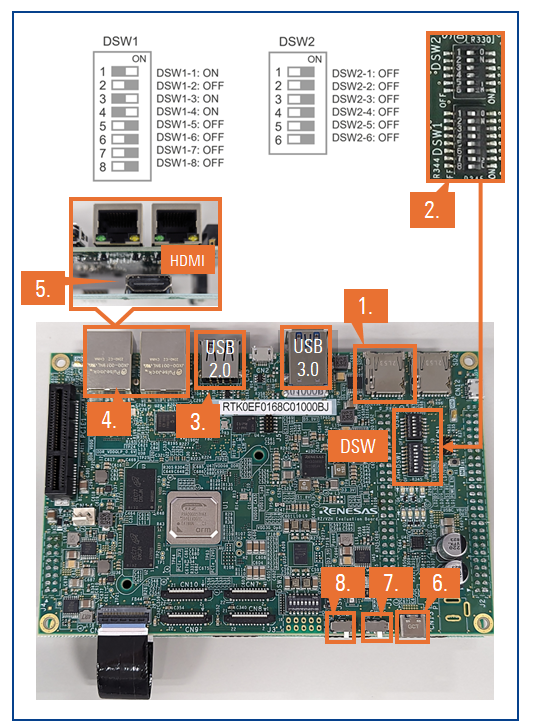
Insert the microSD card to the Board.
Note Use the microSD card slot SD1 on the Board as shown in the figure.
- Change DSW1 and DSW2 setting as shown in the figure.
- Connect the USB mouse and USB keyboard and USB camera via USB hub to the Board.
Note There are USB 2.0 port and USB 3.0 port on RZ/V2H EVK.
Please connect your USB camera to appropriate port according to its requirement.
Here, USB camera is connected to USB 2.0 via USB hub. - Connect an Ethernet cable between the Board and Linux Host PC.
- Connect the HDMI monitor to the Board.
- Connect the power cable to the Board.
- Turn the SW3 to ON.
- Turn the SW2 to ON to power on the Board.
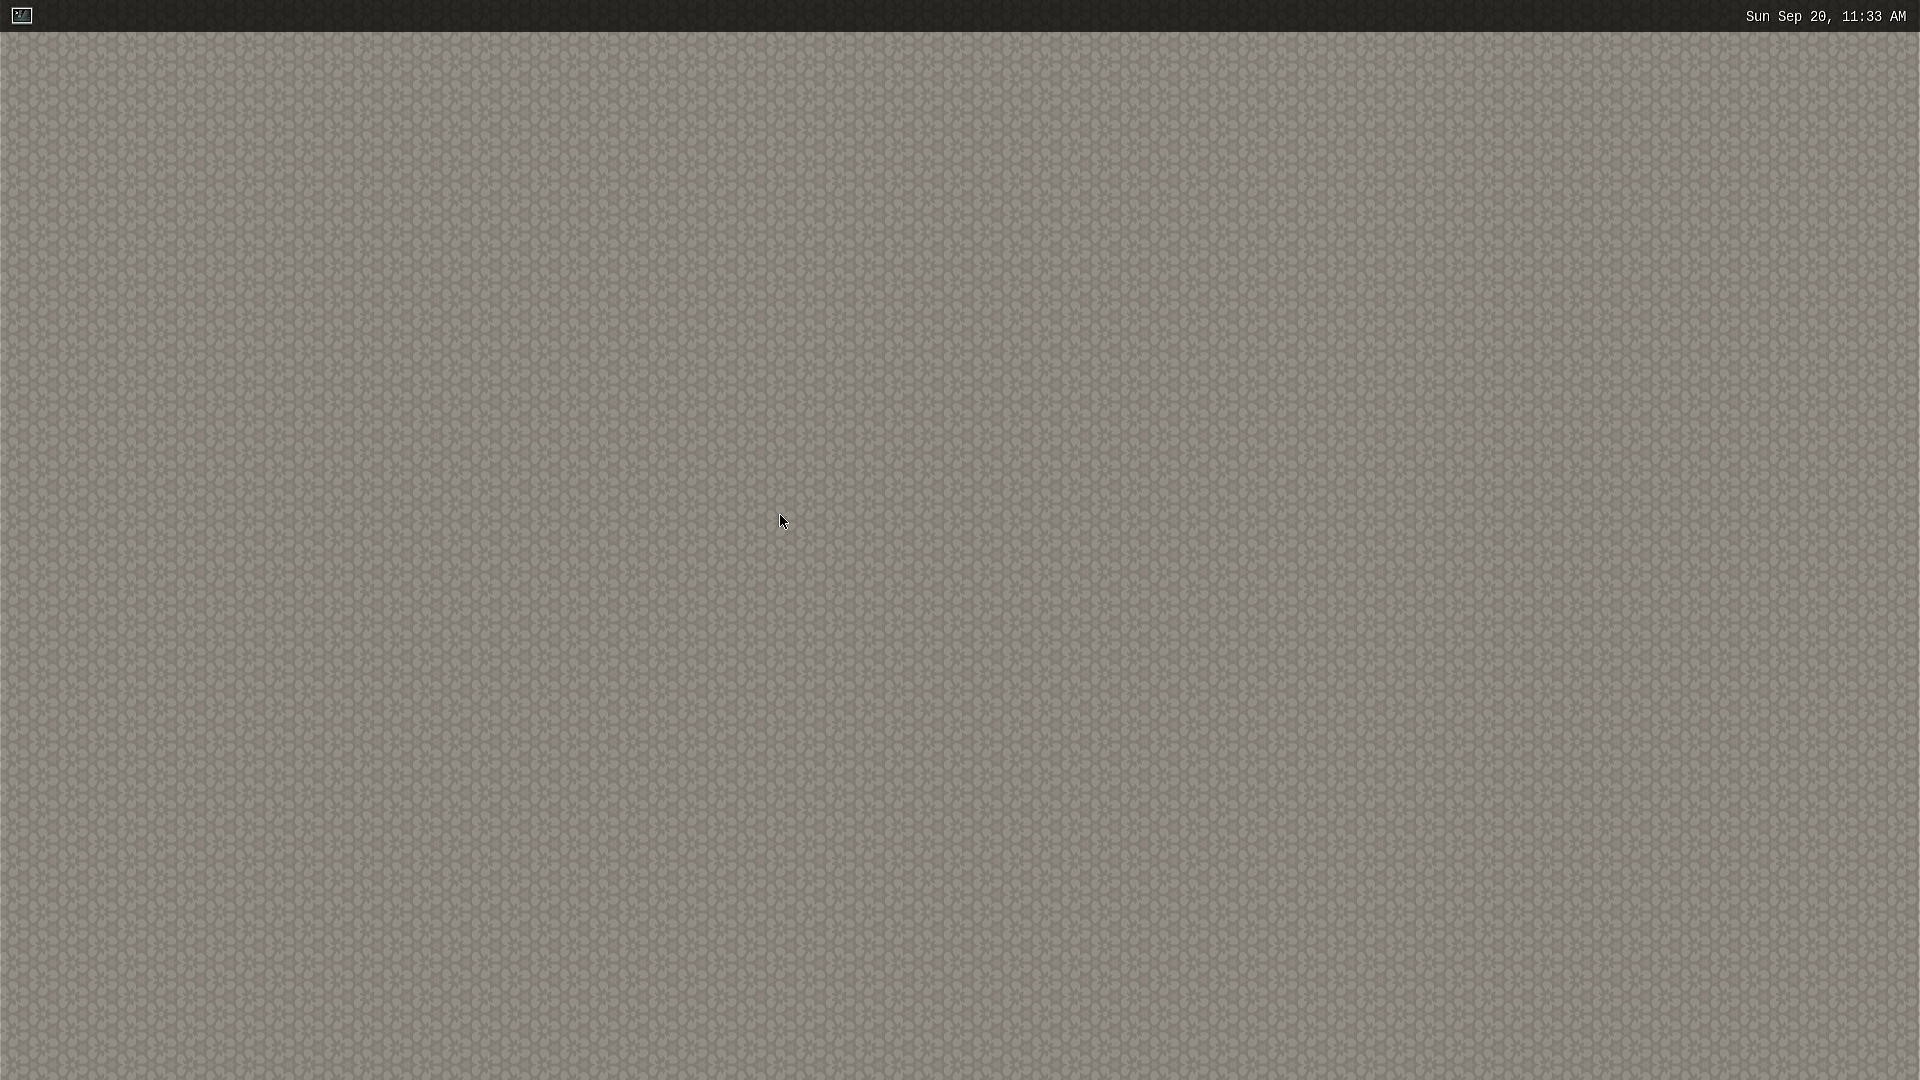
- After the boot-up, following screen will be displayed on HDMI monitor.
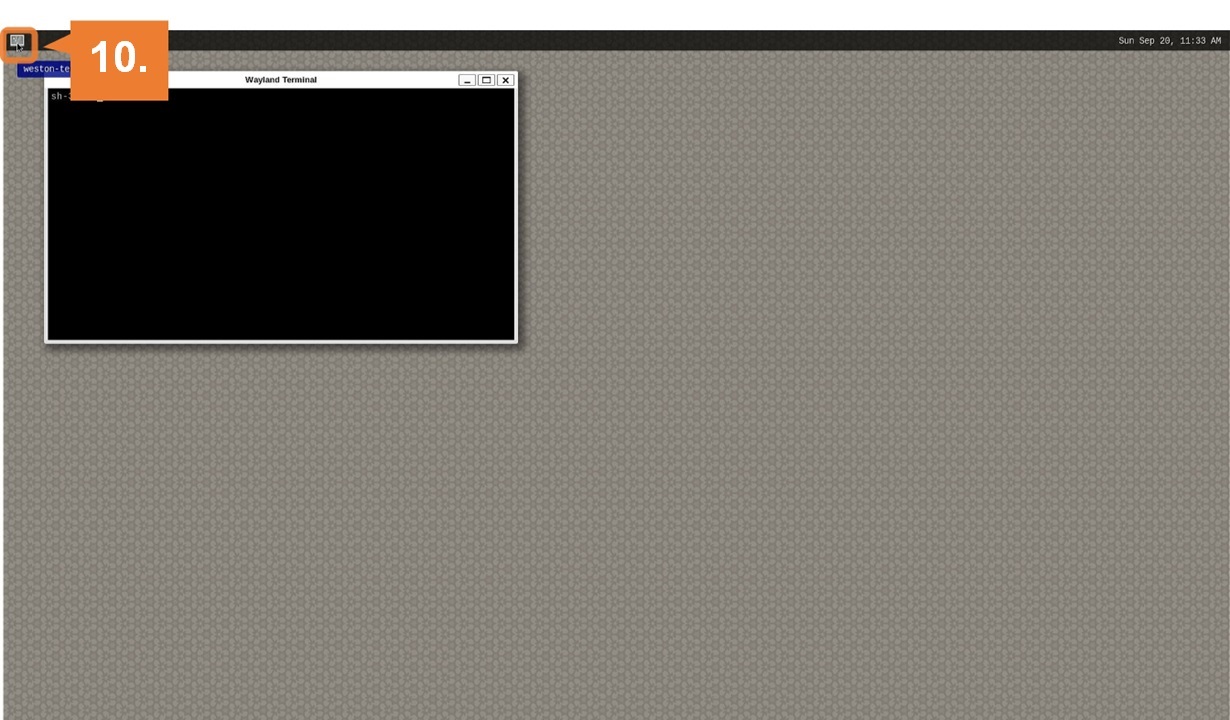
- Click the icon at the top-left corner to open the terminal.
- To communicate between your Linux Host PC and the Board via Ethernet, configure their respective IP addresses.
- Linux PC:
This uses the device name of the Ethernet interface "enp2s1" as an example and sets its IP address to 192.168.1.10..
ifconfig enp2s1 192.168.1.10 - Target board:
Use eth0 and set its IP address to 192.168.1.11.
ifconfig eth0 192.168.1.11
- Linux PC: