Adding a user library is made with the property or on the project tree.
Select the build tool node on the project tree and select the [Link Options] tab on the Property panel.
Adding a user library is made with the [Libraries] property in the [Library] category.

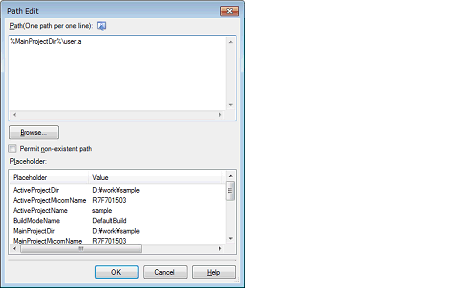
If you click the [...] button, the Path Edit dialog box will open.

Enter the library file (including the path) per line in [Path(One path per one line)].
You can specify up to 259 characters per line, up to 65536 lines.
This property supports placeholders. |
Click the [Browse...] button, and then select the folder in the Specify Using Library File dialog box. |
If you click the [OK] button, the entered library files are displayed as subproperties.

To change the library files, you can use the [...] button or enter the path directly in the text box of the subproperty.
You can also set the option in the same way with the [Libraries] property in the [Frequently Used Options(for Link)] category on the [Common Options] tab. |
Adding a library file to the project tree is performed from the Add Existing File dialog box.
Dropping a library file in the project tree is also possible.
When a library file is added from the project tree, it is subject to timestamp comparison with the load module at build, and the link processing is executed when the added library file is updated.