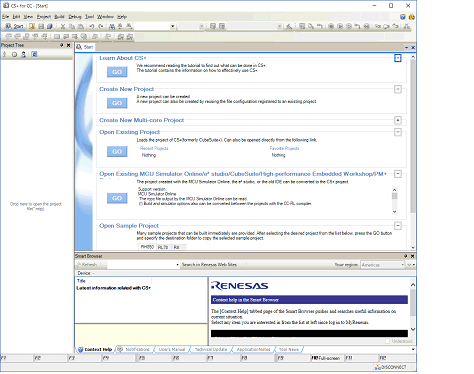
When CS+ is installed and started for the first time, select Windows [Start] menu >> [Programs] >> [Renesas Electronics CS+] >> [CS+ for CC (RL78,RX,RH850)].
In Windows 8.1, select [CS+ for CC (RL78,RX,RH850)] on the start screen. |
The following Main window will be opened.

On the second and subsequent occasions, you can startup CS+ from the icon in the task tray when the rapid start (see "2.11.1 Use rapid start") is enabled.
More than one "CS+ for CC" can be started simultaneously. However, since the setting information (customization of panel layout or menus) is common, the setting information of the CS+ for CC that ended last is held.
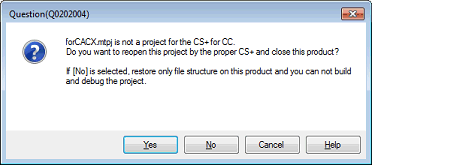
The extension of project files of "CS+ for CC" and "CS+ for CA,CX" is common. When a project file is double-clicked, CS+ detects its contents and then starts the suitable product and load the project. If an attempt is made to open a project of "CS+ for CA,CX" after "CS+ for CC" has been started, the following Message dialog box is opened.

Click [Yes] to end "CS+ for CC" and start "CS+ for CA,CX" to load the project. Click [No] to load the project by "CS+ for CC" without changing the CS+. Click [Cancel] to halt loading. If [No] is clicked, though a project is loaded by "CS+ for CC", it cannot be built or debugged.
The plug-ins other than the build tool, debug tool, and Editor panel are disabled by default (the disabled plug-ins are displayed in the Output panel). |